Showing posts with label Pinterest. Show all posts

Thursday, July 18, 2013

The Bags Need A Container.

Okay, so we all have it. That moment when you open up the doors underneath the sink and every bag falls out. Of course, you may have a few words come out and then shove them back in. Talking about how you'll find something to put those bags in, then of course you never do it. Getting more and more frustrated each time. Of course, that's my husband and I.

So....

One day after perusing Pinterest, I found an easy way to kind of maintain the bags and store them in other places. You know, where they're actually needed but aren't really there. This way you don't have to walk everywhere just to grab a bag.

So, like I said while I was perusing I found this awesome way to reuse a Lysol/Clorox/Store Brand/Whatever You Use Container into a plastic bag holder.

It didn't require shoving bags into a jumbled up mess. It's so neatly organized. It's awesome.

I clicked on the picture and found this adorable little website called Infarrantly Creative with detailed directions on how to complete this.

I grabbed all my grocery bags and threw them into the laundry hamper.


I then picked through each. Throwing away any that had random holes in it. I then flattened out the good ones on the table.


Once flattened, I would fold them in half. Smoothing them out and placing them to the side. I did this about 14 times.


As I finished that, I laid each on top of the end of the next one. Making a little train.


I then tightly rolled them together, pushing any air out as I went.


Grabbed my Lysol Container and placed the bags into it. With the tail sticking out.

 
Taking the tail, I pushed it through the opening of the top of the container. Sealing it.


I did leave the outside blank. This one just hangs out next to my daughters trash can. You can't see it. So it's all good.

Oh and let me just say, this has become ridiculously hand when it comes to replacing the trash bags in Baby E's trash can. Just pull, replace, and go.

Friday, March 22, 2013

Cupcake Pizzas: A Pinterest Find!


Okay, so I probably spend WAY to much time on Pinterest. Anyways, I saw this pin for cupcake pizzas the other day and of course I pinned it... thinking one day I'll make it, just like all the other things I've pinned. Anyways, last night I decided to make them. It looked simple and easy plus I figured since my little rooter tooter was conked out I could actually try and make something instead of just throwing in whatever and eating whatever.

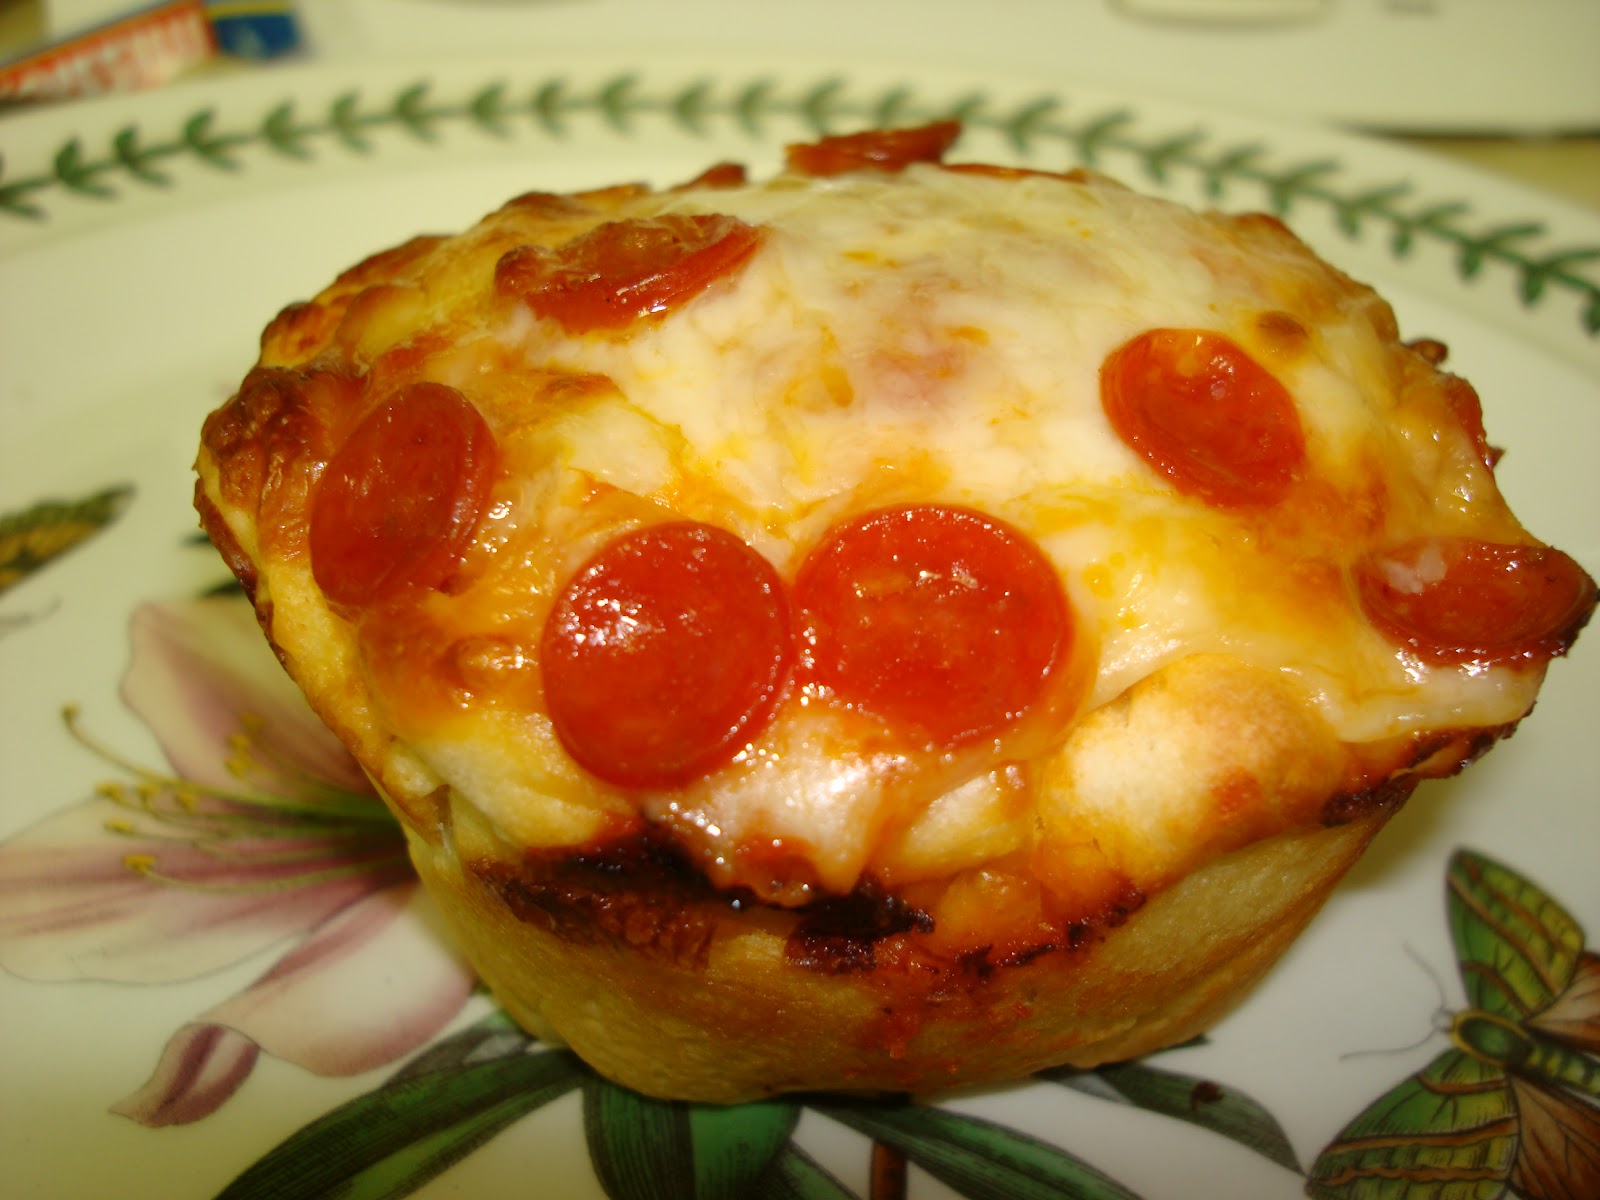
So here's what the cupcake pizzas are supposed to look like:

From All My Great Ideas Are Really from Pinterest
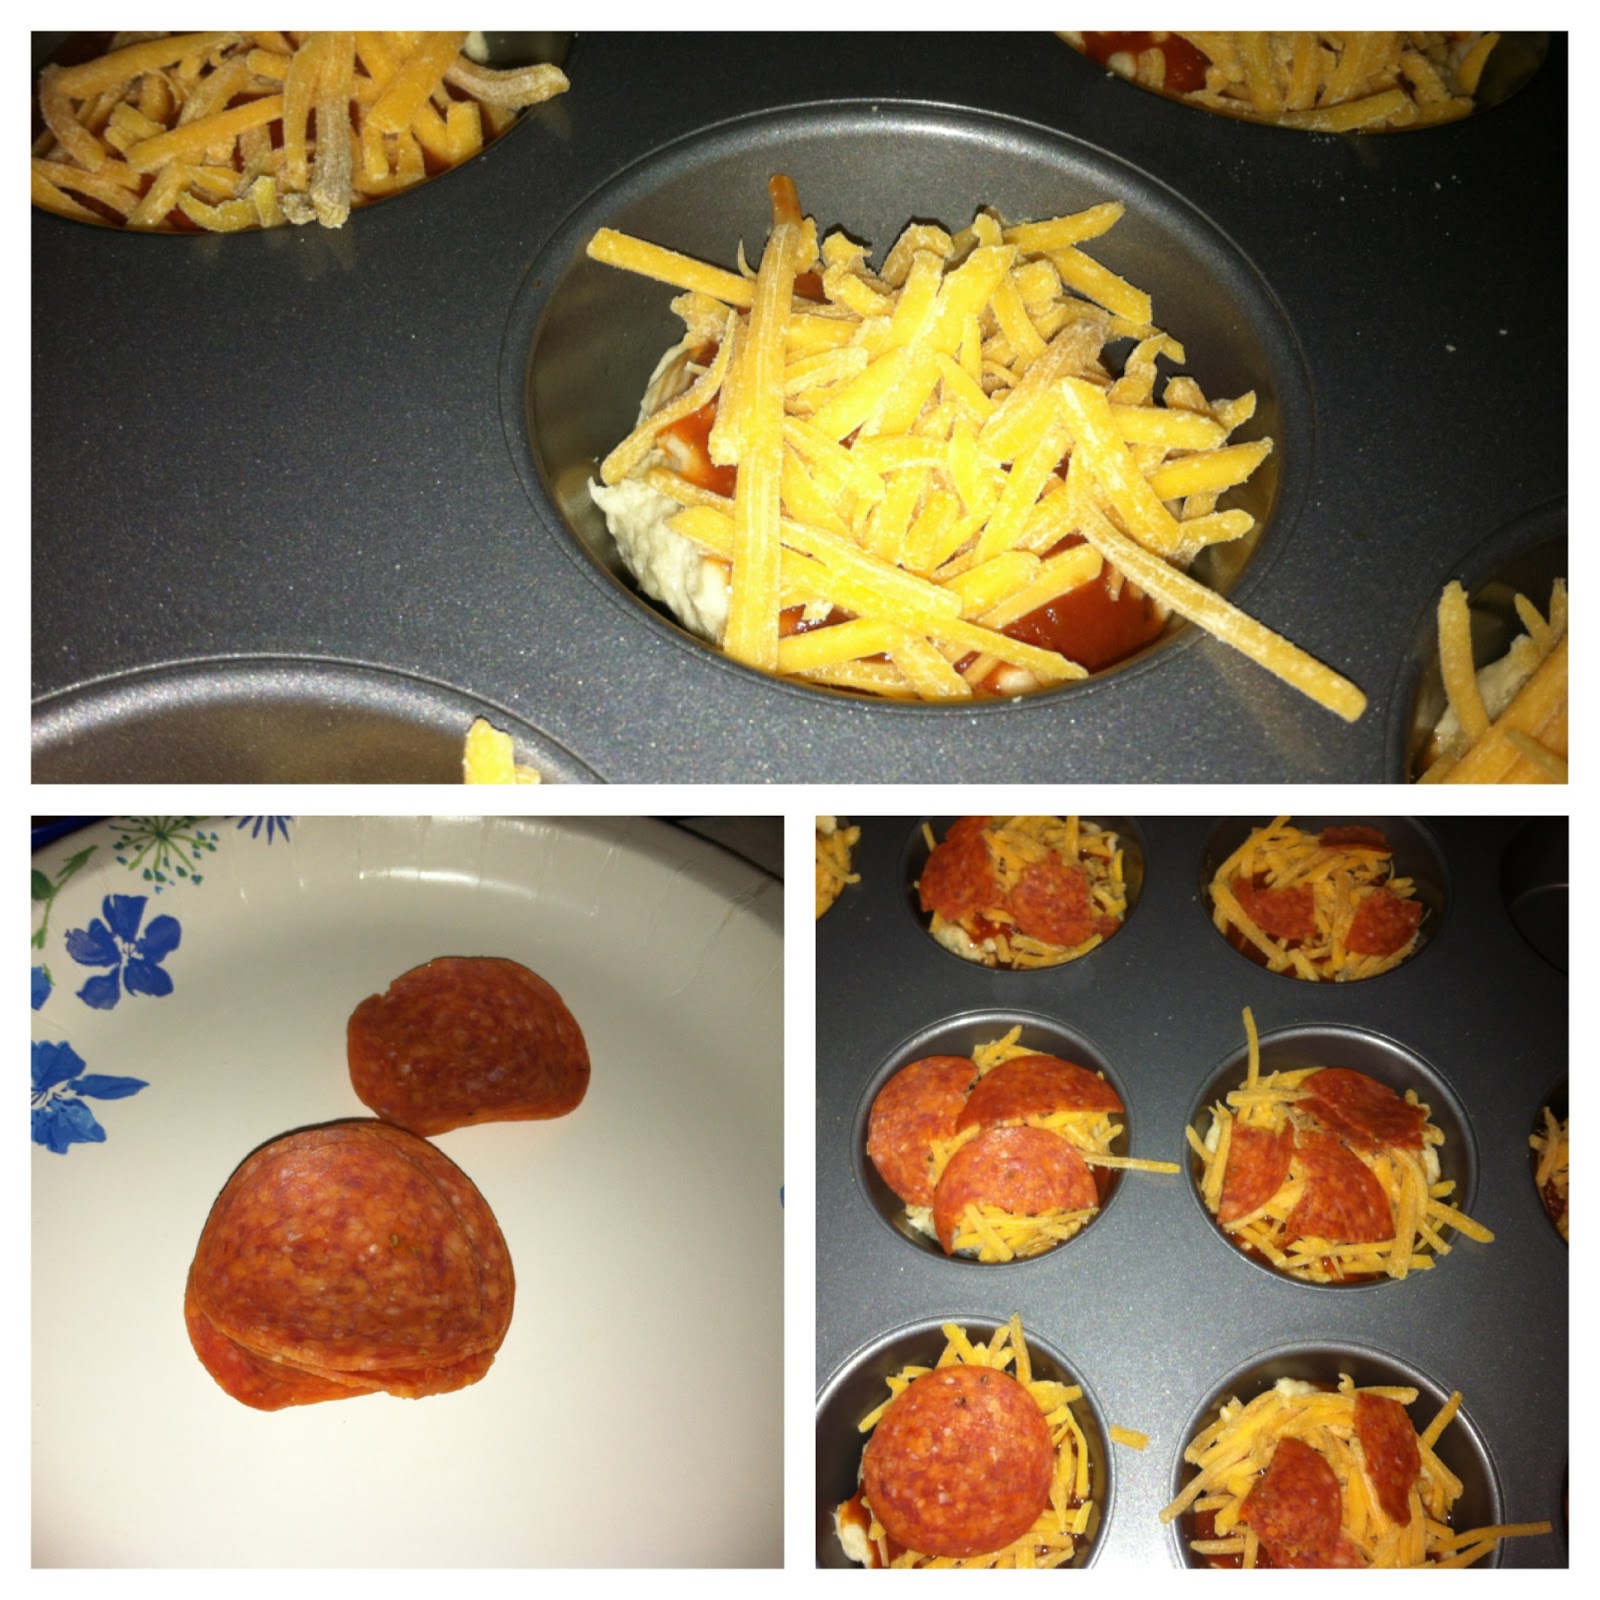
And here's mine:


Haha! So CLEARLY I nailed it!

Although mine look unsightly and maybe a tad bit burnt... they were still absolutely delicious!

So since I clearly nailed it, here's how you make them.


What you'll need:
  • Refrigerated pizza dough
  • Pizza Sauce
  • Cheese
  • Pepperonis
  • Muffin Tin
  • I used a butter spray to spray the tins
Now that you've gathered your ingredients OR at least I hope you did, here's how you put it together. It's pretty simple. 

Preheat the oven to 425 degrees. 

Grab your butter spray. For myself, instead of spraying the spray onto the cupcake pan, I grabbed a paper towel and sprayed it onto there. This gave me the ability to control the mess that I feel the spray makes every time. Plus, I was also able to control the amount of spray.

Once you've done that, open up your pizza dough and tear off pieces. Place those torn pieces into your muffin pan. Now, I pressed down to at least cover the bottom a little bit. 

After you've used all of your dough, grab the pizza sauce and begin to scoop it onto the dough. I just used a spoonful of pizza sauce for each. 

Next, you'll take your cheese and grab a tad bit and sprinkle it on top. For my cheese I used the mild cheddar since I was trying to use ingredients that we already had instead of having to buy more. Once you put your cheese on top, sprinkle on some pepperonis. Now, you can even place some pepperonis onto the pizza sauce and then add your cheese... it's up to you!

After you've made each of your pizzas place the cupcake pan into the oven and bake for 10-15 minutes. Now, I baked it for about 17 minutes to ensure the middle was cooked. 

Once time's up, let them cool for a few minutes and enjoy. They're absolutely delicious and are still amazing the next day!